
Appearance
Settings and integrations
Owners and admins
Settings is for workspace owners and admins. Agents change their own details on their Profile and set up Claire for their own leads on the Claire page.
Open Settings from the Workspace section of the sidebar. The first screen, All settings, shows every area as a tile, grouped by topic.
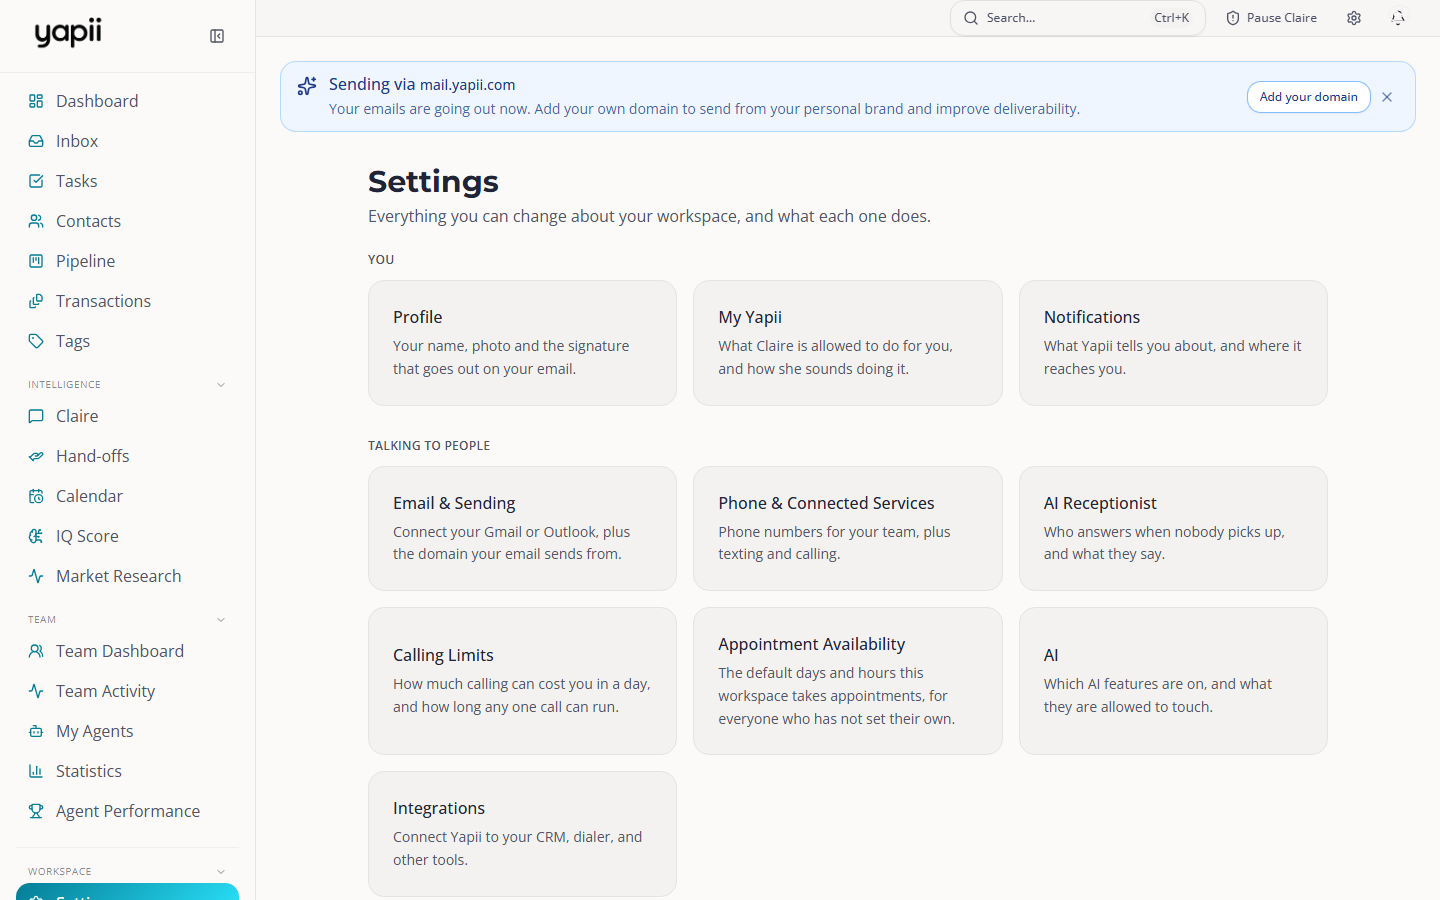
What's in Settings
| Group | Area | What you do there |
|---|---|---|
| You | Profile | Your name, photo and email signature. |
| My Yapii | What Claire may do for you and how she sounds. | |
| Notifications | Which alerts you get, and where. | |
| Talking to people | Email & Sending | Connect Gmail or Outlook, add sending domains, and turn the monthly home value email on or off. |
| Phone & Connected Services | Buy and assign phone numbers (owner). | |
| AI Receptionist | Who answers calls to your Yapii number. | |
| Calling Limits | Caps on daily call spend and call length. | |
| Appointment Availability | Your hours, and the workspace default. | |
| AI | Which AI features are on. | |
| Integrations | Connect your CRM and other tools. | |
| Your business | Lead Sources | Which Claire script each lead source gets. |
| Lead Routing | Who gets new leads (see How new leads arrive). | |
| Sequences | Follow-up drips of emails, texts and tasks. | |
| Market Watch | The areas you track. | |
| Transactions | Checklists and deadlines (with the add-on). | |
| Custom Fields | Your own contact fields. | |
| Your team | Team & Roles | People, roles and teams (owner). |
| CRM & Team Access | Who sees which contacts, the shared pond, and Follow Up Boss options. | |
| Your brand | Branding | Logo, colors and sender name (Builder plan and above). |
| Money | Billing | Plan, usage, credits and invoices (see Plans, billing and credits). |
| Trust & safety | Security | Passwords, two-step verification, sessions. |
| Data & Privacy | How long data is kept, exports and deletion. | |
| Legal | Agreements, including your Data Processing Agreement. | |
| Account & Billing History | A log of imports, team changes and billing events. | |
| Suppressions | Your do-not-contact list. | |
| Record Change History | Who changed what. | |
| Rarely needed | Advanced, Help & Resources, Scheduler, Developer | Developer keys and webhooks, guides and support, background jobs. |
| Danger Zone | Transfer ownership or delete the workspace (owner). |
Integrations
Open Settings, then Integrations. From there you can connect:
- Follow Up Boss: two-way contact sync (see Importing contacts);
- Gmail or Outlook, to bring emails with your contacts onto their timelines and share your calendar;
- Google Workspace, for Sheets and Calendar;
- Dotloop, Meta (Facebook) lead ads and Slack;
- other CRMs and tools listed on the page.
Some integrations need extra setup on Yapii's side. If one you need isn't available, contact support.
Connecting a CRM
Yapii works with Follow Up Boss, kvCORE, Lofty, Sierra Interactive, LionDesk, Real Geeks, Chime, HubSpot and BoomTown. Open To Close is coming soon.
- In your CRM, copy your API key. It's usually in the CRM's integration or developer settings.
- In Yapii, open Settings, then Integrations, and choose your CRM.
- Paste the key and connect.
After that, Yapii checks your CRM for changes about once a minute, and Follow Up Boss sends its changes straight away. To pull everything in right now, click Sync now on the Integrations page.
Before you connect Follow Up Boss
Check the CRM & Team Access settings first, especially who sees which contacts. A big database is much easier to set up correctly before the first sync than to fix afterwards.
For developers on your team
- API keys (Settings, Developer) let other software read or change your Yapii data. Keys can be read-only or read and write. Treat them like passwords.
- Webhooks (Settings, Advanced) send events from Yapii to your own systems.